Panisse? Merci!
Recipe: Panisse, aka chickpea fries (and no, they don't taste like chickpeas if you make them right)


This morning during breakfast with my friend Priscilla, we were discussing our latest culinary outings and she mentioned something she and her husband enjoyed recently, called panisse. She showed me a picture and said they were chickpea fries. I asked her to spell it, I looked it up, and I picked up a bag of chickpea flour on the way home so that I could make them.

Turns out they are a common street snack food from the south of France and go well with all sorts of dipping sauces and sides, or even with a simple squirt of lemon.
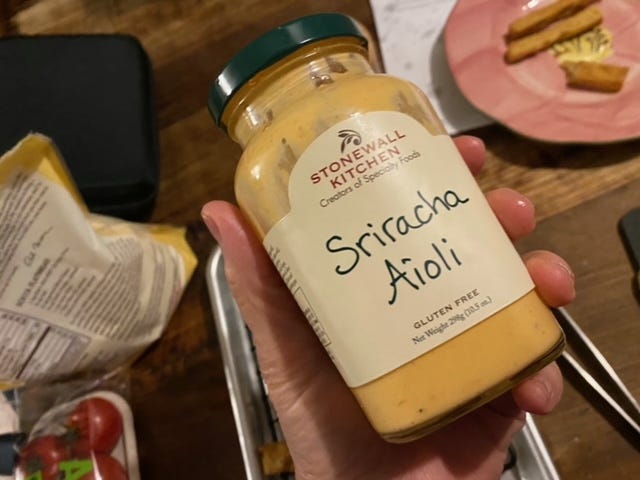
I settled on this recipe from The Kitchn, https://www.thekitchn.com/panisse-recipe-23214241, and really liked them! I cut the recipe in half because it was just me tonight. I was going to run some of them up the street to a friend to see what she and her husband thought, but it was just too darn cold. Sorry, Deb! Next time! =) Deb and her hubby recently shared some seafood with me and with it gave me a jar of Stonewall Kitchen’s Sriracha Aoili, https://www.stonewallkitchen.com/sriracha-aioli-111317.html. I had some of the aioli left over and it was a perfect dipping sauce for the panisse.
These were delicious toasty hot, right out of the pan, but I had a few reservations.
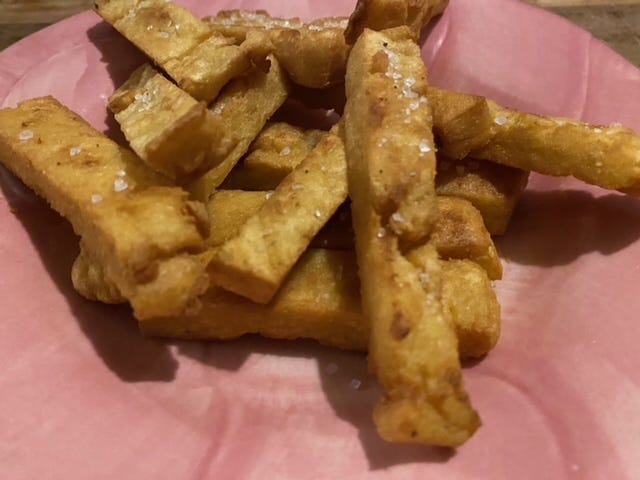
The recipe I worked from suggested whisking the batter for 20 minutes. That’s a lotta whisking for a weeknight. I mean, it was not a huge problem. It did give me an excuse not to go work out at the Y. Whisking is a form of exercise, right? And it gave me time to listen to this fascinating episode of Hidden Brain about “Rising To The Occasion” (be a Tammie Joe! Not a Francesco!) while I was whisking away. There are other recipes that call for less whisking time, but the thing about chickpea flour is that you want to make sure it cooks or soaks long enough so that all the chickpea-ness of it is cooked or soaked out. No one wants fries that taste like chickpeas. Properly prepared, these had a toasty, crunchy exterior with a creamy interior, almost the consistency of a light custard with small air pockets, and a somewhat neutral taste, kind of like French fries but more interesting.
This is what the batter looks like when you start whisking.

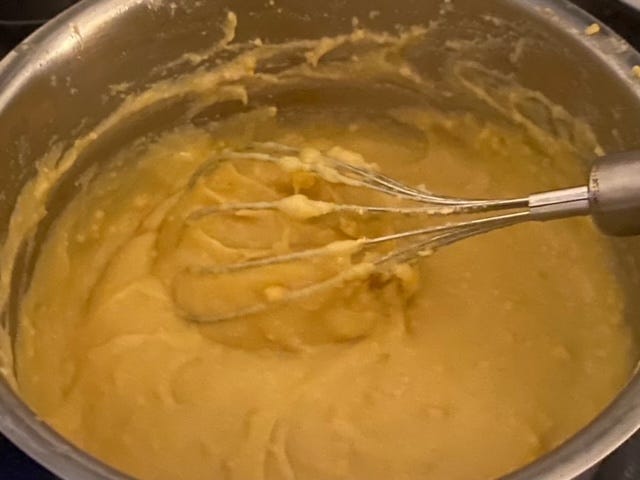
This is what the batter looks like after whisking (while listening to a podcast) for about 20 minutes over medium-low heat.
Because I was whisking so long, some of it stuck to the bottom of the saucepan and that chickpea flour did not want to let go! The pan is still soaking. I’m confident it will come off. It’s not scorched. But the cooked chickpea flour remnants on the bottom of the pan are being very stubborn about taking their leave. So clean-up is a tiny bit of a hassle, but maybe if I used a different pan this might not be an issue.
The recipes say that if you sprinkle them with sea salt as soon as they come out of the pan, the salt will stick. It did not. I had to balance the fries carefully on the plate and then on their way to my mouth to make sure the salt did not fall off, so not sure what I was doing wrong there. They definitely need salt.
Also, I’m wondering if they reheat well. Since you’re frying this in batches, in oil, it’s possible to make for friends, but only for good friends who don’t mind hanging out while your back is to them while you are tending to the fry pan, then draining them, etc. I made extra and will try to heat them up tomorrow a.m. to see if it’s the kind of thing you could make in advance, and then heat up when folks come over. If so, it could be a fun party food. If not, the preparation might be too fussy for my liking. I like food that’s pretty much ready to go when I’m entertaining.
Other than those quibbles, I really like them and I would make them again! I think they would go well with any of the aiolis from Stonewall. I think the company has more than a dozen flavors. You could also make your own aioli, or use some already-made mayo, and whisk in some spicy flavor in the form of harissa, Old Bay, or maybe lemon juice, mustard, and cayenne.
This recipe is adapted from Amelia Rampe’s version on The Kitchn. You can read the original recipe here: https://www.thekitchn.com/panisse-recipe-23214241. Two other recipes that looked good and included interesting notes are from David Lebovitz https://www.davidlebovitz.com/panisses-1/ (he whisks for 10 minutes) and Erin Wysocarski on Olives for Dinner (she whisks for five to seven minutes, has some good ideas about adding herbs to the batter, and another good idea about including these lil fries in a wrap. Yum!) https://olivesfordinner.com/chickpea-panisse-with-roasted-garlic/.
Pem’s Panisse
Ingredients
2 cups water
1 cup chickpea flour
2 teaspoons kosher salt, plus more as needed
1 1/2 cups olive oil, plus more as needed
Sea salt to finish
Optional: freshly ground black pepper, a spicy aioli, a spicy marinara sauce, or something else interesting to dip these in and/or lemon slices
Instructions
Bring 2 cups water to a boil in a large saucepan over high heat. Meanwhile, combine chickpea flour and 2 teaspoons of the kosher salt. Generously coat a square or round baking pan with cooking oil (I used my smallest sheet pan, I think it is an eighth sheet pan).
Once the water is boiling, slowly pour in the flour and salt mixture. Be very careful, because it will start to splatter just as you finish whisking it in. Turn the heat down to medium-low and continue to whisk. Whisk away until it looks smooth, almost like cake batter. It may have a few very small lumps left. This can take up to 20 minutes.
Taste batter and adjust for salt.
Pour the mixture into the baking pan or sheet pan that you oiled earlier, and smooth the top with a spatula that you’ve sprayed with cooking spray. Cover and pop it in the fridge for at least 30 minutes, until it is completely cool. (Note: You can store batter in the fridge at this point overnight, and make the next day if you’d like)
When it’s time to make the fries, turn the pan over onto a cutting board to remove the cooled mixture from the pan. Cut into French-fry like shapes, making sure they are roughly uniform in size.
Heat about a cup of olive oil in a small skillet over medium high heat. Fry about six or seven fries at a time, flipping once, about 2 to 3 minutes per side. Note: If you use a smaller pan, you will be able to use less oil. If you use a larger pan, you will have to increase the amount of oil. The oil should just about cover the fries or at least come up to almost the top of the fries.
They should start to float a bit once they are done, and they will be golden brown and crispy. I used cooking tweezers to flip them, but you could also use a long fork. Just be careful about splatters. Transfer to a sheet pan that has a cooling rack or wire grid on it, so that the oil drains off. Note: if you don’t have a cooling rack, you can use a plate lined with paper towels, but it’s easier to drain off all of the oil with the sheet pan/cooking rack set up. Sprinkle with salt. Hope the salt stays on!
As you do subsequent batches, you may need to add a bit more oil. Keep the oil at about 350 degrees.
Eat ASAP with your fave aioli or with a squirt of lemon. Enjoy!